A flat tire can happen at any time—during a daily commute, a road trip, or even close to home. While it may feel overwhelming at first, knowing how to change a tire can turn a stressful situation into a straightforward task. With the right preparation and a clear understanding of the steps, most drivers can safely replace a flat tire and get back on the road.
This guide explains how to change a tire from start to finish, covering safety precautions, required tools, and best practices. Learning this essential skill not only saves time but can also reduce the need for emergency roadside assistance in situations where help may be delayed.
By following these instructions and familiarizing yourself with your vehicle’s equipment, you’ll be better prepared to handle a flat tire confidently and efficiently.
Key Points to Remember
- Understand every step of changing a tire, from stopping safely to checking tire pressure afterward
- Know the limitations of your spare tire, including speed and distance restrictions
- Keep essential tools in your vehicle and check your spare tire regularly
- Practice changing a tire in a safe environment before an emergency occurs
Tools You’ll Need to Change a Tire
Before beginning, make sure you have the necessary equipment. Most vehicles come with basic tools, usually stored in the trunk or under the cargo area.
Essential tools include:
- Spare tire
- Car jack
- Lug wrench
- Vehicle owner’s manual
Helpful additional items to keep in your car:
- Wheel chocks or wedges
- Tire pressure gauge
- Flashlight
- Flathead screwdriver
- Portable air compressor
Your owner’s manual may include vehicle-specific instructions, so reviewing it ahead of time is highly recommended.
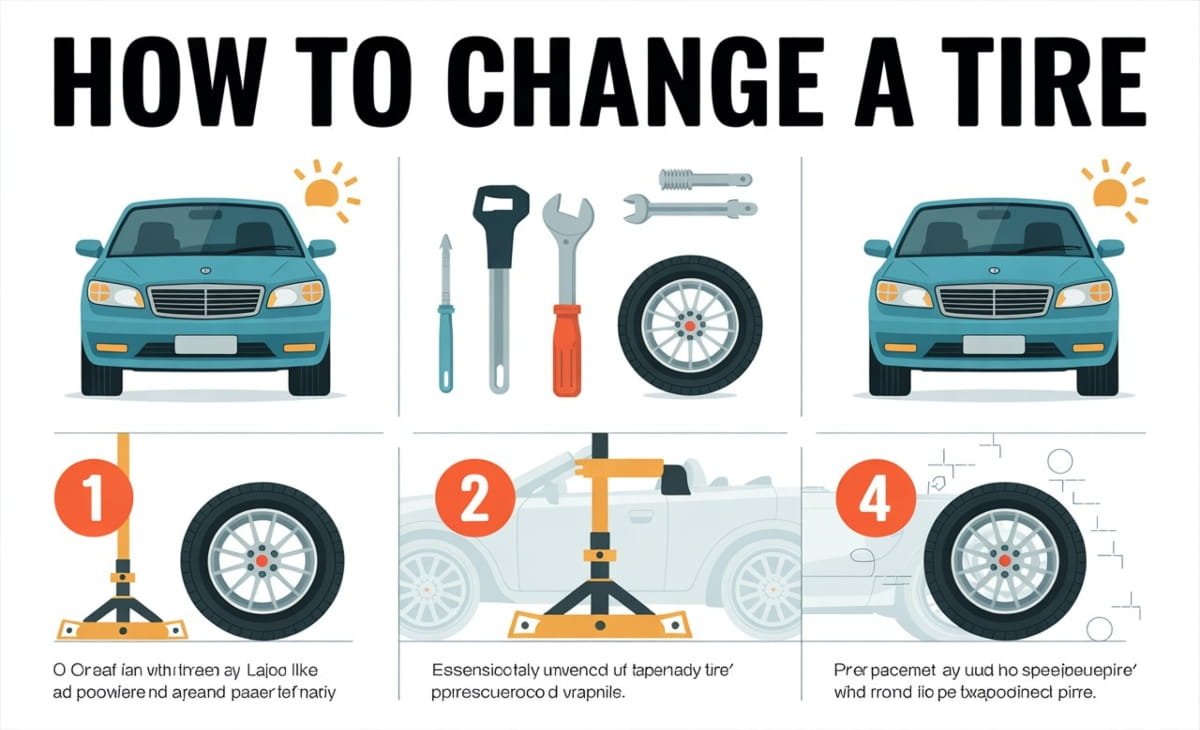
Step-by-Step Instructions: How to Change a Tire
1. Park in a Safe Location
As soon as you notice a flat tire, reduce speed and pull over to a safe area away from traffic. Choose a flat, stable surface and avoid curves, hills, or soft ground. Turn on your hazard lights and engage the parking brake to prevent the vehicle from moving.
2. Secure the Vehicle and Gather Tools
Once stopped, place wheel chocks behind the opposite tires if available. Remove your spare tire, jack, and lug wrench from the trunk and keep them within reach before starting the process.
3. Loosen the Lug Nuts
Use the lug wrench to loosen the lug nuts slightly while the tire is still on the ground. Do not remove them completely yet. This step is easier when the vehicle’s weight prevents the wheel from spinning.
If your wheels have hubcaps, remove them carefully using a screwdriver or the lug wrench, following your owner’s manual instructions.
4. Position the Jack and Raise the Car
Locate the designated jack points under your vehicle, which are outlined in the owner’s manual. Place the jack securely and slowly raise the car until the flat tire is several inches off the ground.
5. Remove the Lug Nuts and Flat Tire
Once the car is elevated, fully remove the loosened lug nuts and place them somewhere secure. Carefully pull the flat tire straight toward you to remove it from the wheel studs.
6. Install the Spare Tire
Align the spare tire with the wheel studs and push it into place. Thread the lug nuts back on by hand, tightening them just enough to hold the wheel in place. Avoid fully tightening them while the vehicle is still raised.
7. Lower the Vehicle
Carefully lower the car until the spare tire rests on the ground. Remove the jack once the vehicle is fully supported by the spare tire.
8. Tighten the Lug Nuts
Using the lug wrench, tighten the lug nuts firmly in a crisscross or star pattern. This ensures even pressure and helps keep the wheel securely attached.
9. Store Tools and Check Tire Pressure
Put away all tools and the flat tire. Use a tire pressure gauge to check the spare tire’s pressure and inflate it if necessary. It’s also a good idea to check the pressure of your other tires when possible.
Spare Tire Basics
Full-Size Spare vs. Donut Spare
Some vehicles come with a full-size spare, while others use a compact “donut” spare. Donut spares are lighter and take up less space but are intended for temporary use only.
How Far Can You Drive on a Spare Tire?
Compact spares are typically limited to short distances, often no more than 50 miles. Full-size spares may not have the same restrictions, but they should still be inspected regularly.
Speed Limits for Spare Tires
Most donut spares should not be driven faster than 50 miles per hour. Always follow the manufacturer’s guidelines listed on the tire or in your owner’s manual.
Safety Tips for Changing a Tire
- Keep your tools organized and easily accessible
- Check your spare tire’s pressure at least once a month
- Avoid changing a tire in heavy traffic if possible
- Practice changing a tire at home so you’re prepared in an emergency
Knowing how to change a tire is an essential life skill that can prevent delays, reduce stress, and help you stay safe on the road.
Frequently Asked Questions (FAQs)
How often should I check my spare tire?
It’s recommended to inspect your spare tire monthly, checking both air pressure and overall condition.
Does roadside assistance cover tire changes?
Most roadside assistance plans include tire changes, but coverage details vary by provider and policy.
What if my spare tire is flat or damaged?
If your spare tire is unusable, contact roadside assistance or a towing service for help.
How do I know when my tires need replacement?
Look for worn tread, cracks, or vibration while driving. Regular inspections and tread depth checks help determine replacement timing.
What should I do if I get a flat tire in an unsafe area?
If stopping immediately is dangerous, drive slowly for a short distance to reach a safer location. If that’s not possible, contact emergency roadside services for assistance.